I love a good blueberry muffin, but I don't like it to be cake like. I want a muffin, not a cupcake. I had a recipe in college that I loved but I have lost it. So I searched around, and of course had to modify a recipe. This is what I came up with:
Makes 15 Muffins
1/4 Cup Soy Free Earth Balance
1/2 Cup applesauce (unsweetened)
1/2 teaspoon salt
1 Cup organic cane sugar
1 1/2 Cups Whole Wheat Flour
3 scoops NOW Protein Powder (unflavored)
1 Tablespoon Baking Powder
1 teaspoon vanilla extract
1 Cup Rice Milk
2 Cups Fresh Blueberries
I mixed the earth balance, applesauce salt and sugar together first, then added the remaining ingredients. I always use muffin liners when baking muffins/cupcakes. Bake at 350 for about 30 minutes.
Please note that because of the pea protein this is a thick batter, just like my banana muffins. They are VERY allergy friendly, unless you have a wheat allergy and we don't so I have not tackled that issue yet! They did receive a seal of approval from big L who is my pickiest eater! I liked them as well, and based on my calculations they come in at about 171 calories, which is not too bad for a muffin.
Enjoy!
My journey as a stay at home mom....gardening, sewing, knitting and anything else I feel like trying.
Tuesday, July 30, 2013
Blueberry Muffins
Monday, July 29, 2013
A Coupon Clutch
From the Joann website I had a pattern for a coupon clutch. Before this I just threw coupons in my purse, then spent time trying to figure out which one in the pile I needed. Not so good for a checkout line!
This was BEYOND easy. I think I may have to make a few for holiday gifts. The only thing is I stink at making my own binding, so I may just buy some for the next time!
All you have to do is cut to 8in by 8 in squares, one and inside fabric, one outside. I used fat quarters because that of course is what I have. Then you cut two 8in by 7in, 2 8 in by 5.5 in and 2 8 in by 4. You fold the smaller pieces in half, place them on the inside piece, lining up the edges and bottom (one right side up, one upside down) from largest to smallest. Make sure you have your cover piece on the back, right side out, sew around the edge and you are almost done. Add your binding around the edge and you are finished.
It folds in half, fits in the purse I made, holds the loyalty cards I have and is thin. I like it! Six pockets to organize coupons and loyalty cards. It was just right.
This was BEYOND easy. I think I may have to make a few for holiday gifts. The only thing is I stink at making my own binding, so I may just buy some for the next time!
All you have to do is cut to 8in by 8 in squares, one and inside fabric, one outside. I used fat quarters because that of course is what I have. Then you cut two 8in by 7in, 2 8 in by 5.5 in and 2 8 in by 4. You fold the smaller pieces in half, place them on the inside piece, lining up the edges and bottom (one right side up, one upside down) from largest to smallest. Make sure you have your cover piece on the back, right side out, sew around the edge and you are almost done. Add your binding around the edge and you are finished.
It folds in half, fits in the purse I made, holds the loyalty cards I have and is thin. I like it! Six pockets to organize coupons and loyalty cards. It was just right.
Friday, July 26, 2013
Vegetable and fruit holders
I may start using these at the store, but I haven't decided. They will be ready for next years garden. A book I checked out from the library said this was the best way to keep your leafy greens fresh, depending on the vegetable you may even want it to be damp. All I did was sew up one bottom and one side. SUPER EASY. The book had you put in a drawstring, but I don't use twist ties, I highly doubt I will use the draw string!
Just one more use for a dishtowel! I did find some that are a little light and breathe well for this job. They are all cotton. Super soft.
Thursday, July 25, 2013
Lunch Bags...School is almost here!
School starts soon and big L's lunch box grosses me out. I can't seem to get it clean anymore. She has used it for about a year and half, so I can't complain too much. We use a lot of re-usable containers, and some kids lunchboxes just don't fit enough of those for her to have her food properly separated. So I went a looking for lunchbox patterns online. I found a few and ended up combining some and doing my own thing. I did it in three different ways.
First:
I used dishtowels and a shower curtain I purchased at IKEA. I got the shower curtain idea from another pattern, but the dishtowel thing is just from me liking to make things out of dishtowels. They are already hemmed you know!
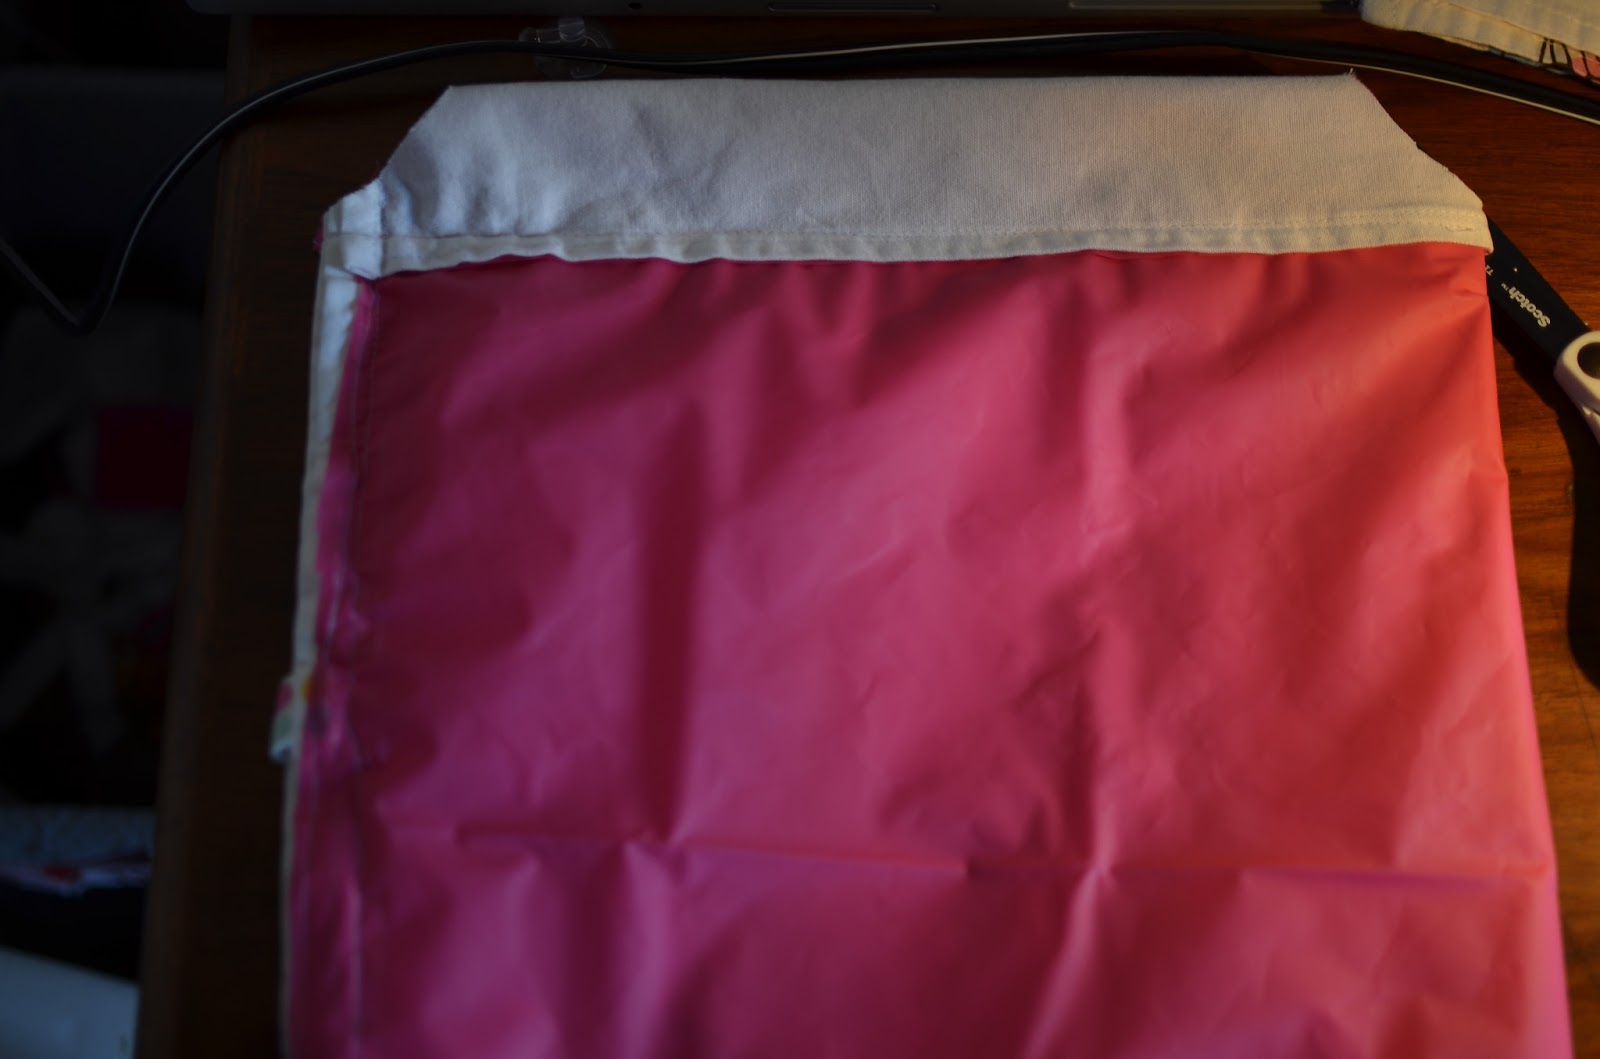
For the first one I sewed along one side, then folded up the bottom and sewed it together about two inches from the bottom.
I added velcro to the one side so it will stay folded over and voila, a washable lunch bag. I plan on throwing it in with the towels when it gets dirty.
Second:
For this one I folded it in half and sewed up both short sides. All this I should say was after I sewed the liner to the towel. Then I put a button on the front and used the loop on the towel to close it. Easy peasy!
This was my husbands favorite.
Third:
This one I folded in half the long way and sewed up the side. It was way too deep so I cut off a portion, folded down the top, and sewed around, then added the velcro to keep it closed. I took the portion I had cut off and sewed the bottom together. It was the top of the towel with the loop so I added a button. Perfect size to hold a sandwich.
Nothing fancy on the bottom. But it will hold what it needs to. This set is my favorite. I may go back to IKEA and get another set of cute towels. Or I may find some somewhere else. I liked these because they were a pretty big size.
I didn't do a fancy bottom on them. I tried on the first two, it didn't really work out. I want them to be super washable so unless I figure out a way to do that and have them keep their shape I think I will keep doing it this way.
First:
I used dishtowels and a shower curtain I purchased at IKEA. I got the shower curtain idea from another pattern, but the dishtowel thing is just from me liking to make things out of dishtowels. They are already hemmed you know!
For the first one I sewed along one side, then folded up the bottom and sewed it together about two inches from the bottom.
I added velcro to the one side so it will stay folded over and voila, a washable lunch bag. I plan on throwing it in with the towels when it gets dirty.
Second:
For this one I folded it in half and sewed up both short sides. All this I should say was after I sewed the liner to the towel. Then I put a button on the front and used the loop on the towel to close it. Easy peasy!
This was my husbands favorite.
Third:
This one I folded in half the long way and sewed up the side. It was way too deep so I cut off a portion, folded down the top, and sewed around, then added the velcro to keep it closed. I took the portion I had cut off and sewed the bottom together. It was the top of the towel with the loop so I added a button. Perfect size to hold a sandwich.
Nothing fancy on the bottom. But it will hold what it needs to. This set is my favorite. I may go back to IKEA and get another set of cute towels. Or I may find some somewhere else. I liked these because they were a pretty big size.
I didn't do a fancy bottom on them. I tried on the first two, it didn't really work out. I want them to be super washable so unless I figure out a way to do that and have them keep their shape I think I will keep doing it this way.
Wednesday, July 24, 2013
Organizing Shoes....ARGH!
I have almost always had a no shoe home. At least from the time I had my own home. I used to be quite the crazy about clean floors and well, I still am in many ways. My floors have to be mopped after my parents come over because they don't remove their shoes.
Because of this we have a LOT of shoes by our doors. A lot of shoes. They are always messy and I have a heck of a time getting the big kid to put her shoes away. Little l can be a bit obsessive about putting her shoes where they go, so it is not too bad with her. As for me, I have been on a bit of a shoe buying spree. After finding most of my shoes were too wide after losing weight and discovering that I like to wear nice things again I have more shoes now than I have had in quite some time.
This week I decided I had had enough. I couldn't take the mess any longer.
This was our current solutiuon. What you can't see is the six or so pair of shoes all over the floor. Those grocery bags! ARGH! Why do I have so many? I went through those and weeded out some, then folded what I had into one bag and put them back in the car where they belong!
I got a cube thing from Target and some bins. Look at that nice clean hall now!
Now I have two bins and an empty slot for my shoes. Big L and little l each have their own bin. Socks on top for me, and in her bin for little l. The only thing I didn't think about was how big my husband's feet were and his don't fit in a bin at all. So he has his set in one spot and a pair on the floor next to it. I can deal with this. :-)
Then I moved to my back door. I forgot to take a before picture. We have a lot of shoes by the back door. Extras for when friends come and they need a pair to wear out to the pool. We also have extra swimsuits and towels, and all of this has to be convenient by the back door. We had all of the shoes in that basket above. It was a pain and a mess!
I moved that old shoe rack to this door. Flip flops stack well, so I can fit more pairs on here than if we are doing the regular daily shoes. Towels only are in the black bin now. It used to be a mess of swimsuits, goggles and towels. Now the swimsuits and goggles are in the blue basket. Hopefully this will work and everyone can keep up. I just have to train the husband, he doesn't seem to want to put the shoes back on the rack......
Because of this we have a LOT of shoes by our doors. A lot of shoes. They are always messy and I have a heck of a time getting the big kid to put her shoes away. Little l can be a bit obsessive about putting her shoes where they go, so it is not too bad with her. As for me, I have been on a bit of a shoe buying spree. After finding most of my shoes were too wide after losing weight and discovering that I like to wear nice things again I have more shoes now than I have had in quite some time.
This week I decided I had had enough. I couldn't take the mess any longer.
This was our current solutiuon. What you can't see is the six or so pair of shoes all over the floor. Those grocery bags! ARGH! Why do I have so many? I went through those and weeded out some, then folded what I had into one bag and put them back in the car where they belong!
I got a cube thing from Target and some bins. Look at that nice clean hall now!
Now I have two bins and an empty slot for my shoes. Big L and little l each have their own bin. Socks on top for me, and in her bin for little l. The only thing I didn't think about was how big my husband's feet were and his don't fit in a bin at all. So he has his set in one spot and a pair on the floor next to it. I can deal with this. :-)
Then I moved to my back door. I forgot to take a before picture. We have a lot of shoes by the back door. Extras for when friends come and they need a pair to wear out to the pool. We also have extra swimsuits and towels, and all of this has to be convenient by the back door. We had all of the shoes in that basket above. It was a pain and a mess!
I moved that old shoe rack to this door. Flip flops stack well, so I can fit more pairs on here than if we are doing the regular daily shoes. Towels only are in the black bin now. It used to be a mess of swimsuits, goggles and towels. Now the swimsuits and goggles are in the blue basket. Hopefully this will work and everyone can keep up. I just have to train the husband, he doesn't seem to want to put the shoes back on the rack......
Tuesday, July 23, 2013
A good Sunday
This Sunday was awesome weather wise. We had actual rain for more than five minutes. It was cloudy and cooler than it has been in quite a while. I managed to get weeds pulled before it started raining and then I started focusing on my patio. I re-potted some plants, cleaned, cleaned some more and organized. We made out well at the Target clearance sale and have more chairs now. I have also picked up a couple of little signs to hang on the back. It still has things that need to be hung, but my husband decided to go inside with the little one before I was done with him. I started staining the window above, but now I think I will be painting it a different color when we repaint the house in the next year or so. At that time the back patio color scheme will probably change a bit.
It looks rather inviting now. I just wish I had gotten it done before our fourth of July party, but it was fine that day.
That plant overflowing the pot in front there is my basil. I have never had a basil plant live long enough to get this big! I am going to have to work more basil into our diets!
Happy gardening!
It looks rather inviting now. I just wish I had gotten it done before our fourth of July party, but it was fine that day.
That plant overflowing the pot in front there is my basil. I have never had a basil plant live long enough to get this big! I am going to have to work more basil into our diets!
Happy gardening!
Monday, July 22, 2013
Lotion and Shampoo Update
I have blogged before about my attempts to make a body butter or lotion that would work for all of us. I think I may have finally found a combination. Last time I used 3.5 oz of shea butter, 3.5 oz of coconut oil, about 2 oz of avocado oil, 2tbls of beeswax and about a tablespoon of vitamin e. It is still a little oily going on, however, it does not get hard, and does not turn too oily to handle. My only issue lately is that it is not lasting for a whole day, I have had to reapply in the afternoon, but that is okay. I guess I can live with that.
Also, I am still using my homemade shampoo. I will say that for the first month I hated it, my hair was oily. It adjusted. I quit using it for a week and had to go through the oily yuck all over again until it readjusted. This is rather disturbing, in a good way. I don't want to use store bought shampoo anymore, it is obviously stripping my hair of things it needs.
If you have any lotion/body butter suggestions please share below!
Also, I am still using my homemade shampoo. I will say that for the first month I hated it, my hair was oily. It adjusted. I quit using it for a week and had to go through the oily yuck all over again until it readjusted. This is rather disturbing, in a good way. I don't want to use store bought shampoo anymore, it is obviously stripping my hair of things it needs.
If you have any lotion/body butter suggestions please share below!
Subscribe to:
Posts (Atom)