Showing posts with label Sewing. Show all posts

Monday, March 31, 2014

Happy Birthday Dress

My girls picked out some fabric the last time we were at the fabric store and I decided it would be good to have them done by their birthdays.  Which of course meant that two weeks before little l's birthday I was in a rush to finish the dress!

I decided to make the Los Feliz dress from this book.


One down one more to go!

Tuesday, December 3, 2013

The serger won

My grandmother gave me her serger earlier this year.   Until a week or so ago it has sat looking at me.  I decided it was time to take that beginner serger class I bough on craftsy so this holiday weekend I tried,  and tried and tried.

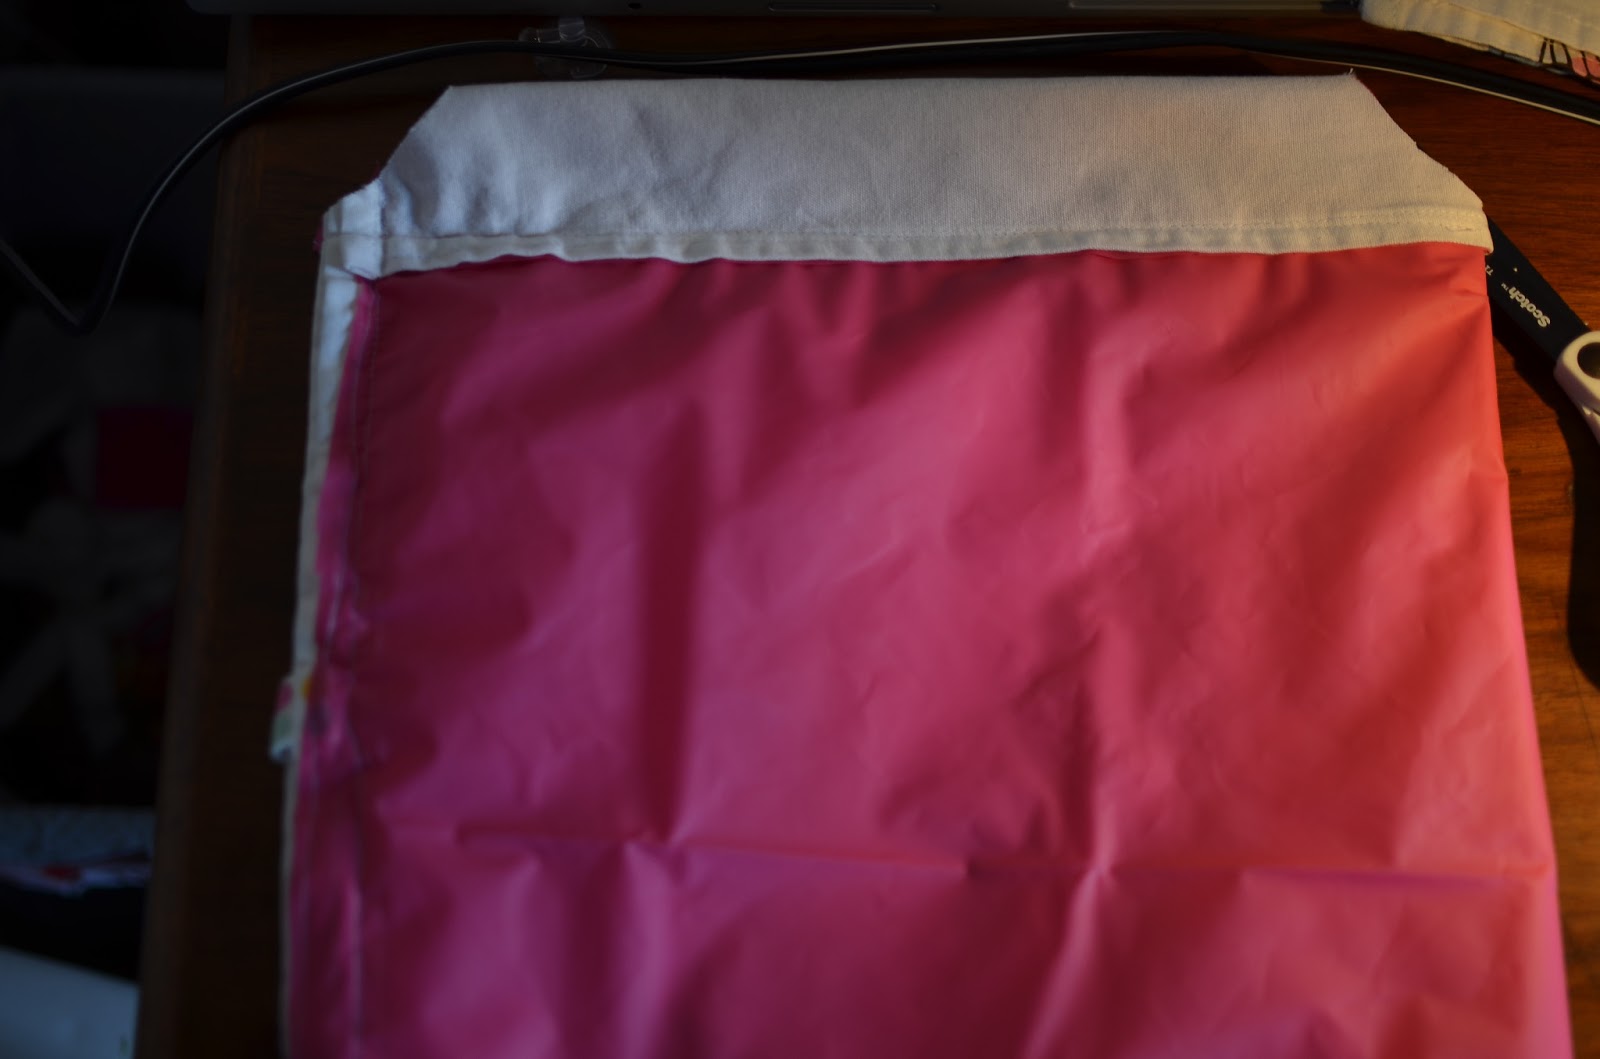
The serger had other ideas.  I have broken four needles, one is missing in my room somewhere, waiting to be stepped on in the middle of the night.  I have threaded and re-threaded the machine and I am now a pro at that step. I just can't get it to work right,  at all.  It worked for a few sample stitches then stopped. I am sure it is me and not the machine, but I don't have the patience or time right now to figure it out.  So I started this project with the serger, note the crappy stitching by the zipper.  Then I finished  it with my trusty sewing machine.


Tuesday, November 26, 2013

An almost tree skirt

I started this tree skirt a bit ago.  It went together quickly and I was ready to quilt it, then life happened. 

Finally, this weekend I finished quilting it.  I still have to bind the edges, but I am a bit nervous it won't be big enough for our tree so I am going to wait until this weekend when we put up the tree. 


 I started with gold thread, but it must be too old because it kept breaking.  A lot of breaking.  So I gave up on the gold and switched to green. 

I am getting a little better at free motion quilting, but it can be exhausting!  In the end it worked out pretty well. 

Tuesday, October 15, 2013

Another wrap-around skirt-Lined!

 One thing I have never made is a lined skirt or....well lined anything.  But this fabric while nice was a bit itchy.  Wool is not my friend!  However, the fabric was free and I liked it and thought it would make a nice skirt.  So I used that same pattern from my previous post and whipped this up in a day, a day of interruptions and such.  This time I used the pocket pattern.  no ruffle on the side and two pockets on the front.  It was super simple, especially since I have mastered this pattern!
 SEE!!  Pretty lining!  I am not obsessive about lining up lines on seams, so for those of you who are don't look!
These are really comfortable skirts to wear and you don't have to worry about them opening up and flashing things you don't want to flash to the world! 

Monday, October 7, 2013

Flirty Skirty

I have been on a bit of a sewing kick of late.  While I still have not taken the serger class and learned to use it, I do plan on doing that soon too.  Instead, I have been sticking to the things I know how to do.

I purchased a pattern, McCall's M5430.  It is a "one hour skirt".  Now I am not the best of seamstresses so it was more like a two hour skirt for me, including cutting time.  I am pretty happy with it.  I screwed up the first one because I read the pattern wrong, however, the second and third one (which will be featured in a later post) came out okay.

Here is the first one:
 You may note that there are two sets of buttons, that is because I screwed up the tie.  A good seamstress would rip it out and fix it.  I just added another set of buttons. 
This gray one is done properly and actually ties on the side.  I haven't fully figured out how to tie it nicely.  Suggestions?  It is a little heavier as I used corduroy.  I like it though it is fallish. 

When I wear them I don't feel thin, but looking at the pictures I look thinner than I feel.  They are really comfortable and a good length.  I can get up and down with the kids and not worry about flashing my "assets" to the world. 


Monday, July 29, 2013

A Coupon Clutch

From the Joann website I had a pattern for a coupon clutch.  Before this I just threw coupons in my purse, then spent time trying to figure out which one in the pile I needed.  Not so good for a checkout line!

This was BEYOND easy.  I think I may have to make a few for holiday gifts.  The only thing is I stink at making my own binding, so I may just buy some for the next time!

 All you have to do is cut to 8in by 8 in squares, one and inside fabric, one outside.  I used fat quarters because that of course is what I have.  Then you cut two 8in by 7in, 2 8 in by 5.5 in and 2 8 in by 4.  You fold the smaller pieces in half, place them on the inside piece, lining up the edges and bottom (one right side up, one upside down) from largest to smallest.  Make sure you have your cover piece on the back, right side out, sew around the edge and you are almost done.  Add your binding around the edge and you are finished. 
It folds in half, fits in the purse I made, holds the loyalty cards I have and is thin.  I like it!  Six pockets to organize coupons and loyalty cards.  It was just right. 

Friday, July 26, 2013

Vegetable and fruit holders

I may start using these at the store, but I haven't decided.  They will be ready for next years garden.  A book I checked out from the library said this was the best way to keep your leafy greens fresh, depending on the vegetable you may even want it to be damp.  All I did was sew up one bottom and one side.  SUPER EASY.  The book had you put in a drawstring, but I don't use twist ties, I highly doubt I will use the draw string!

Just one more use for a dishtowel!  I did find some that are a little light and breathe well for this job.  They are all cotton.  Super soft.


Thursday, July 25, 2013

Lunch Bags...School is almost here!

School starts soon and big L's lunch box grosses me out.  I can't seem to get it clean anymore.  She has used it for about a year and half, so I can't complain too much.  We use a lot of re-usable containers, and some kids lunchboxes just don't fit enough of those for her to have her food properly separated.  So I went a looking for lunchbox patterns online.  I found a few and ended up combining some and doing my own thing.  I did it in three different ways. 

First:

 I used dishtowels and a shower curtain I purchased at IKEA.  I got the shower curtain idea from another pattern, but the dishtowel thing is just from me liking to make things out of dishtowels.  They are already hemmed you know!
For the first one I sewed along one side, then folded up the bottom and sewed it together about two inches from the bottom. 
I added velcro to the one side so it will stay folded over and voila, a washable lunch bag.  I plan on throwing it in with the towels when it gets dirty. 

Second:
For this one I folded it in half and sewed up both short sides.  All this I should say was after I sewed the liner to the towel.  Then I put a button on the front and used the loop on the towel to close it.  Easy peasy!
This was my husbands favorite.

Third:
 This one I folded in half the long way and sewed up the side.  It was way too deep so I cut off a portion, folded down the top, and sewed around, then added the velcro to keep it closed.  I took the portion I had cut off and sewed the bottom together.  It was the top of the towel with the loop so I added a button.  Perfect size to hold a sandwich. 
 Nothing fancy on the bottom.  But it will hold what it needs to.  This set is my favorite.  I may go back to IKEA and get another set of cute towels.  Or I may find some somewhere else.  I liked these because they were a pretty big size. 

I didn't do a fancy bottom on them.  I tried on the first two, it didn't really work out.  I want them to be super washable so unless I figure out a way to do that and have them keep their shape I think I will keep doing it this way. 


Thursday, June 6, 2013

More charm pack skirts

I found a few cute charm packs in clearance and on sale about six months ago.  They have been sitting in my stash looking cute since then.  I have finally been finding time for a little sewing, and since I ran out of thread for the quilt I have been finishing up other projects and finding new things to do with the thread I have.  The girls have both grown quite a bit and big L's other charm skirt seems shorter each time she wears it. 

 It took about an hour and half to make the big one, and an hour for the little one, so these are quick and easy projects that make you feel like you accomplished something.  Big L loves hers despite my boo boos (we were measuring challenged for some reason).
 Little l likes hers as well.  Especially since the pack I found has little owls on a few of the fabrics.  Hoo, hoo.

All in all, I just like these because they are fast, inexpensive, and you can hide certain mistakes.  Big L wanted hers longer this time, so next time I need to remember to get an extra charm pack. 

Thursday, May 30, 2013

FINALLY starting to quilt

Just to give you an idea of the size of this quilt....the king size batting fits, and there is fabric over the side.  I have had this put together and ready to go for some time, I just hadn't taken the time to spray adhesive my layers and get to quilting.  Partly because of the anxiety I have been feeling over having this huge quilt on my little machine.  The other night I told myself no more excuses, had the hubby help me clean the garage floor, lay it out flat, spray, layer, spray layer.  Then I ironed, and started quilting.   

 Before starting I loaded 10 bobbins.  Unfortunately I think I will need 20-30 more.  I ran out of thread the other night, but I am ready, and getting better at using the free motion foot, so that is a plus!
 I stitched all my vertical ditches.  Then started quilting on the side.  I didn't have a firm plan for patterns, I have just been doing what I can with hearts and flowers.  I only got the border on one side quilted before I ran out of thread, but It looks decent, and feels great. 
My attempt at connected hearts.  It doesn't look too shabby for a first.  I can't believe I never bought the free motion foot attachment before.  I think I am in love.  Hopefully in a few weeks I will have a finished quilt to show you, then I will also show the very small machine I am doing this on.  One thing, I never knew it took so much upper body strength to quilt this way!

Monday, November 12, 2012

FINALLY! A dress that twirls

I have been working on this dress off and on since school started.  I finally! finished, though it is far from perfect, and I wish I could have hidden a few more seams.  However, it passed the L test.  She loves it and spent quite a bit of time twirling around in it.  The skirt flows out as she twirls thanks to the seam gathering on the side.

I think it turned out okay for a first try, but I still can't figure out what I am doing wrong when it comes to fitting the bodice.


It is fully reversible.  We will see which side gets the most wear.  I had it all ready to sew together when I realized her head didn't fit through (my child has a large head, this is not the first time this has been an issue), so we decided instead of making the neck hole bigger, which would have made it sag down or fall off her shoulders we would just put on a button.  So on one side you have a button, on the other, little flowers to cover the button threads.  The pictures don't really do it justice, and you have to see it twirl to understand the lift it achieves. 

I guess I will keep trying, a little here and there. 

Tuesday, September 25, 2012

Cute little tank

The first item I made for big L out of the book Sewing Clothes Kids Love was supposed to be the easiest.  I am just struggling with the measurements, and with the fact that what I measured is not coinciding with the pattern measurements, but I will get it!

This turned out pretty cute, but I may need to make it a bit bigger. 

It was a very easy pattern, and is modifiable.  Next time I will make it a bit longer (I am not a belly showing momma), and add a little more embellishment. 

Friday, September 21, 2012

A skirt for me! Charmed I am sure.

This is like big L's "charm" skirt.  It was for me though, so I took fat quarters and quartered them.  Then pieced them together and voila, my own skirt.  I have enough leftover, I will eventually get around to making one for L.  Matching skirts :-), never knew I would be so corny. 

Easy and fun, and I am getting much better at RUFFLING!


Thursday, September 20, 2012

Pants!

I have always been a bit afraid to make pants.  Apparently rightfully so!  Pattern I used is from Sewing Clothes for Kids.

It was only my second time tracing out my own pattern and adding allowances, etc.  I did not do such a great job!  I ended up having to fix the pants after they were done.  The crotch was too long!

However, they are fixed and she loves them.  Unfortunately it is too darn hot to wear them still so she will have to wait a bit!


Front

Back
They are a little long still so I made it so the cuffs have a cute fabric to fold up!  Very much big L. 

Monday, June 25, 2012

Rags and splinters

I have been successfully using very few paper towels for years now, and it has occurred to me that I should probably just give them up when we run out this time.  About a year ago, I bought some new dish towels.  My old ones were worn, and stained, and I was just tired of looking at them.  Plus my rag bin was small and didn't have very many "good" rags.

However, when I switched them all out, I realized, I had a LOT of rags.  I had no were to put them either, because my little bin for rags was just that, LITTLE.

I browsed Handmade Home by Amanda Blake Soule and found a cute idea for a rag bag.  However, I didn't want to use any of my fabric, it was too nice for a rag bag that is hidden in the closet, and I didn't want any thing frilly.  It needed to be sturdy.  My family can be a bit rough on things, and I want the kids to be able to grab things out of this bag without worrying they will rip something and I will have to find time to fix it.

So I made two bags.  One for little rags, and one for big rags (messes are different sizes you know).  For the big one I sewed two towels together.  Then I took an old towel that I hated, and cut it up to make handles.  Viola, it was done.  The smaller one was even easier.  I took one towel folded it in half, sewed up the sides, put on a handle, and I was done.

They might not be much to look at, but they do the job, and I have already told all of my loving family that I have given up on having a house that is nicely decorated.  I will live the rest of my life with random clutter and (at least for another year or so) most of my furniture and other non kid friendly items placed out of the way or in other odd places.  As an aside, the reason a lot of my furniture is not where it should be is little l likes to chew on wood.  I am sure that the paints and stains are not the best thing for a baby.  We hope that she will outgrow this, before she ends up with splinters in her gums. 

Friday, June 22, 2012

Father's Day

My husband has been asking me to make him handkerchiefs.  I just find the idea gross.  I like being able to throw my snot away.  He however, doesn't.  Being the good environmental steward I try to be I decided Father's Day would be a good day to provide him with this.  Of course, I forgot about it until the Monday before, so I was a bit rushed. 

I used an old pillowcase.  Soft, but fraying around the edges a bit.  Then I embroidered, which I don't do, an M in a different color on each one, so that he wouldn't use the same one for more than one day. 

The result:

I made seven, but he used some before I could get the picture.  Forgetful me.  I think they turned out pretty nice and I go to practice mitering a hem.


Fun times!

Thursday, June 21, 2012

Kinderquin

My daughter and I have decided to start making some of her clothes.  Fun times all around, but there are times when she won't be here, and I will want to fit something, or I will be too frustrated to get her to be still so I don't stick her with a pin. 

Of course, I bought a book.  I love books!  Sewing Clothes Kids Love, is a great book.  In it the Kinderquin is recomended.  Basically you have them dress in old clothes that you are okay with cutting.  Then you put duck tape (yes the silly colored kind works great and is not like duct tape) all over them.  You can use long or short sleeves.  Then you cut it off, carefully.  Stuff it, put a hanger in it and voila you are done. 

I think my daughter thought it would be more fun.  She did enjoy being wrapped up like a mummy, until I had to cut it off. 

Front

Back

Complete with hanger, and stuffing

Even shows the curve in her back. 
Hopefully, this will work.  I think it is a cute idea.  After I cut it off she liked it too. 

Wednesday, June 20, 2012

Something just for me.

I decided it was my turn for something.  I checked out my book again, Stitch by Stitch, and chose the next piece of clothing in line learning wise.  The book if you go from front to back helps you to attain new skills with each project then put them altogether in the clothing section.  Unfortunately, the patterns aren't as big as I still am post little l, so I will need to keep losing weight to wear it. 

However, I did it!  I started about three weeks ago, and admittedly stopped a few times in between to make the easier items posted earlier.  I had to give myself a bit of a pep talk and remind myself that I can follow directions!  This weekend though, I was determined.  This wrap around skirt wasn't going to get me.  In the end it did and when I can finally wear it I will need to sit down with my mom or someone more experienced and find out if the pattern was wrong (I doubt it), or I just misread something (most likely).  Here is what I have:
See that tie on the right as you look at it?  It is supposed to be wrapped around and tied to the one by the buttons.  It is not long enough!

Modesty buttons as she called them.  You know, for those windy days when you really don't want everyone seeing your undergarments.  Buttons are some from my mom's collection.  They were 67 cents in the day. 

My most proud moment.  An on-seam pocket, it lays flat!  I know I cut the fabric backwards, but it is inside the pocket!  Who looks there? 
So, fifteen or so pounds and I will be flitting around town in my pretty little skirt!  I love it!  I will say that this skirt taught me a lot.  It taught me I can do this clothes sewing thing I am trying.  I am not perfect, and this is not easy....yet.  I need a lot of practice before I will consider myself good at gutter stitching!  I am sure there will be more sewing projects to come, but I think for a day or two I may start that knitting project I want done by the holidays.